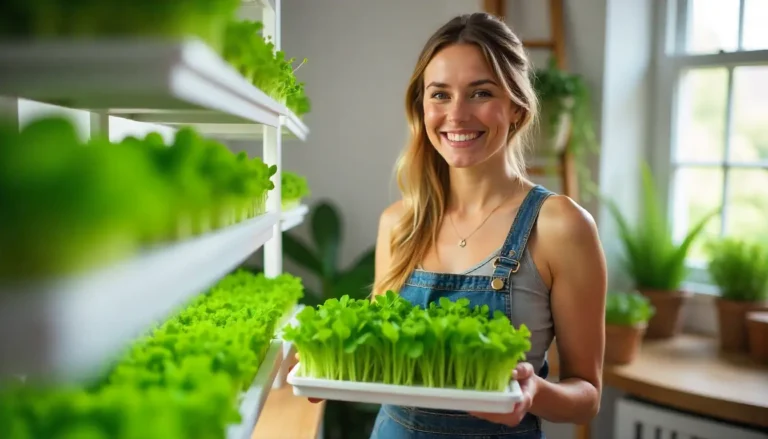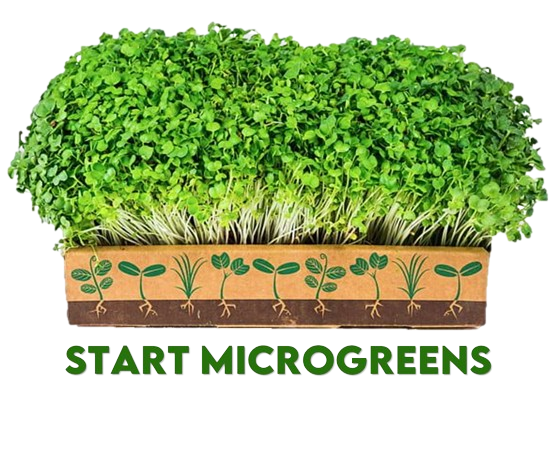

In past few years, microgreens have gained popularity due to their potent flavours, appealing sensor qualities, functionality, abundance in vitamins and minerals. These tiny, nutrient-packed greens are essentially young seedlings of vegetables and herbs, harvested just after the emergence of their first set of true leaves. Cultivation of these tiny microgreens is a very much rewarding and one if the unique process that allows you to enjoy a fresh supply of these nutritious greens. In this article, we will discuss entirely about the step-by-step process of “how to grow microgreens ?”, from state of selection of seed to harvesting.
So before discussing about the process of cultivating the microgreens thoroughly, we have to know the benefits of it.
Benefits of growing microgreens:
Growing microgreens offers a myriad of benefits, making it an increasingly popular and rewarding experience, such as:- .
- These tiny, nutrient packed microgreen, serve as potent nutritional powerhouses.
- Growing microgreen at home ensures that the produce is free from harmful chemicals and pesticides, also offers a convenient and affordable sources of fresh produce.
- Despite the health benefits, growing of these little plants is a fruitful experience that gives you opportunity to witness the seeds transform into vibrant, flavourful greens.
- Microgreens are a versatile garnish that add a vibrant pop of flavour and a visually pleasing element to salads, sandwiches, and other dishes.
- Growing microgreens also promotes sustainable practices, allowing people to reduce their environmental impact and grow their own food.
Varieties of microgreens:-
Exploring different varieties of microgreens is a delightful journey into the vast and diverse world of miniature greens, each offering a unique culinary experience, which force us to know “how to grow microgreens?”. From the familiar classics to exotic and less common varieties, the possibilities are as varied as the colours and flavours they brings to the plate:-.

1. Classic Varieties:
- Broccoli: Delicate and slightly peppery, broccoli microgreens are rich in nutrients, adding a nutritional boost to salads and sandwiches.
- Radish: Known for its distinct peppery taste, radish microgreens come in various colours, from vibrant red to earthy green, providing a bold flavour kick.
2. Herbaceous Delights:
- Cilantro: Capture the essence of fresh cilantro in miniature form, perfect for garnishing Mexican and Asian dishes with its bright, citrusy flavour.
- Basil: Tiny basil microgreens pack a punch of sweet and aromatic notes, elevating the taste of pasta, pizzas, and salads.
3. Spicy Selections:
- Arugula: Peppery and bold, arugula microgreens add a zesty kick to salads, wraps, and sandwiches, making them a favourite among adventurous palates.
- Mustard: Available in various types, mustard microgreens range from mildly spicy to intensely hot, providing a diverse range of flavours for culinary experimentation.
4. Nutrient-Rich Choices:
- Kale: Packed with vitamins and minerals, kale microgreens offer a mild, slightly sweet flavour, making them a nutritious addition to smoothies and salads.
- Spinach: Tender and mild, spinach microgreens are versatile, complementing a variety of dishes with their fresh taste.
5. Colourful and Unique:
- Beet: Vibrantly coloured beet microgreens bring a slightly earthy and sweet flavour to the table, enhancing both the visual appeal and taste of dishes.
- Amaranth: With its red and green hues, amaranth microgreens have a mild, earthy flavour, making them a visually striking addition to salads and wraps.
6. Exotic Finds:
- Shiso: A staple in Japanese cuisine, shiso microgreens boast a unique blend of mint and basil flavours, adding an exotic touch to sushi and other dishes.
- Tatsoi: Resembling tiny rosettes, tatsoi microgreens have a mild, mustard-like taste, providing a refreshing twist to salads and stir-fries.
Method involves in the cultivation of microgreen: “how to grow microgreens ?”
Choosing the appropriate and healthy Seeds:
Selecting the right and healthy seeds (free from pest or diseases) is the first crucial step in cultivating vibrant microgreens. Opting high-quality seeds from reputable suppliers to ensure a successful growth of microgreens. Broccoli, Kale, Radish, Sunflower, and Arugula are some common and popular choices for microgreens.
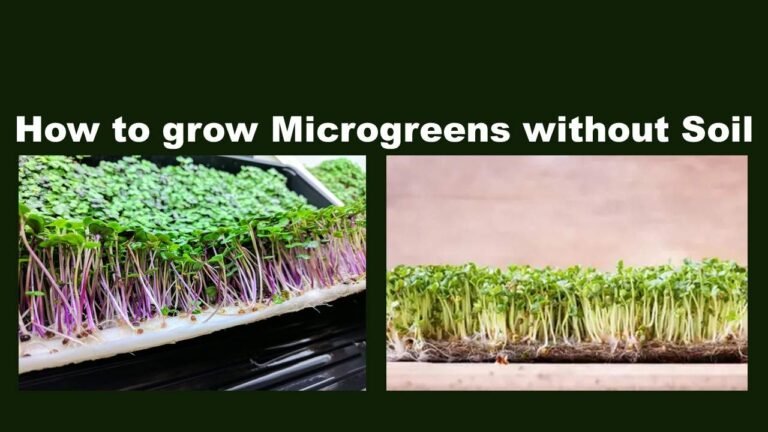
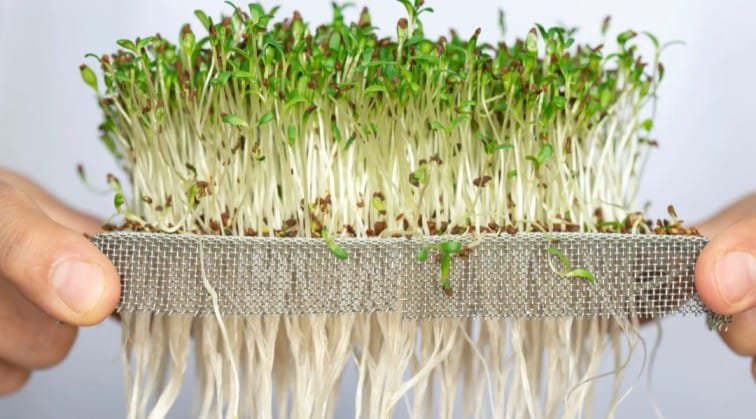
Selecting a Growing Medium:
Microgreens can be grown in various growing mediums, including soil, hydroponic systems, or even on moistened paper towels. Soil is the most common choice for beginners due to its availability and affordability. If you are using soil as a medium, ensure the soil is well-drained and free from contaminants. Alternatively, hydroponic systems offer a soil-free option, providing nutrients directly to the plants through water.
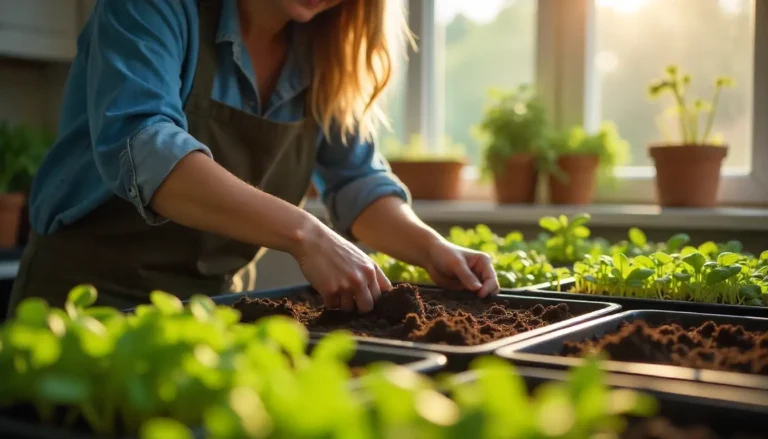
Preparing the Growing Containers:
Use shallow containers or trays with drainage holes to grow microgreens. Proper cleaning and sanitization of trays or containers is must before use. Fill the containers with the selected growing medium, leaving about an inch of space at the top, to give the seeds room to germinate and grow.
Sowing the Seeds:
It’s essential to evenly distribute the seeds for prevention of growth of pests and to maintain proper aeration among the seeds . Gently press the seeds into the soil or growing medium and cover them with a thin layer of soil, ensuring good seed-to-soil contact.
Watering and Humidity:
Keep the soil consistently moist but not waterlogged. Watering from the bottom is recommended to prevent disturbing the seeds. Maintain a humid environment during the germination period by covering the containers with a clear plastic lid or plastic wrap. Once the seeds have germinated, remove the cover to allow proper airflow.
Lighting Requirements:
Microgreens require adequate light for healthy growth. Place the containers in a location that receives indirect sunlight or use artificial grow lights. Position the lights about 2-4 inches above the seedlings and adjust the height as they grow. Aim for 12-16 hours of light per day to promote robust and vibrant microgreens.
Temperature Control:
Maintain a consistent temperature for optimal growth of microgreen. Most of the microgreens can develops well in temperatures ranges between 60°F to 75°F (15°C to 24°C). Avoid the fluctuations of temperature, because they can have negative impact over the growth of plants.
Fertilization:
Microgreens are fast-growing and nutrient-demanding plants. Consider using a diluted, balanced fertilizer once the seedlings have developed their first true leaves. Follow the manufacturer’s recommendations for application rates, and avoid over-fertilizing, as this can lead to issues such as nutrient burn.
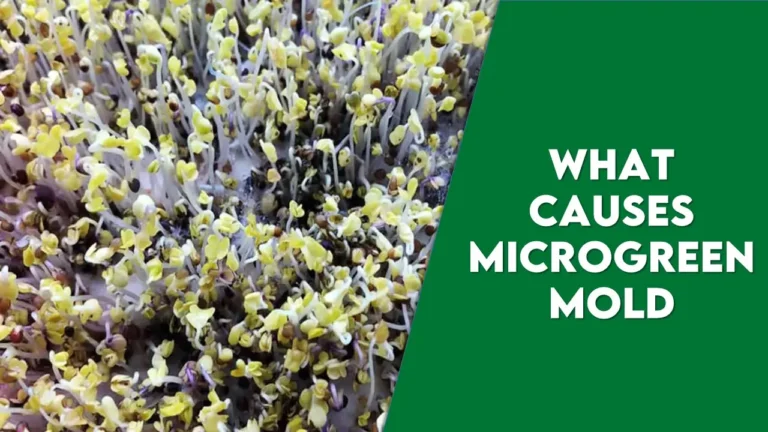
Monitoring and Troubleshooting:
Regularly inspect your microgreens for any signs of pests or diseases. The most common issues which includes damping off (fungal disease), that affects seedlings. To prevent this, ensure good air circulation, proper watering practices, and avoid over-crowding. If pests are present, consider using natural remedies or insecticidal soap to protect your crop.
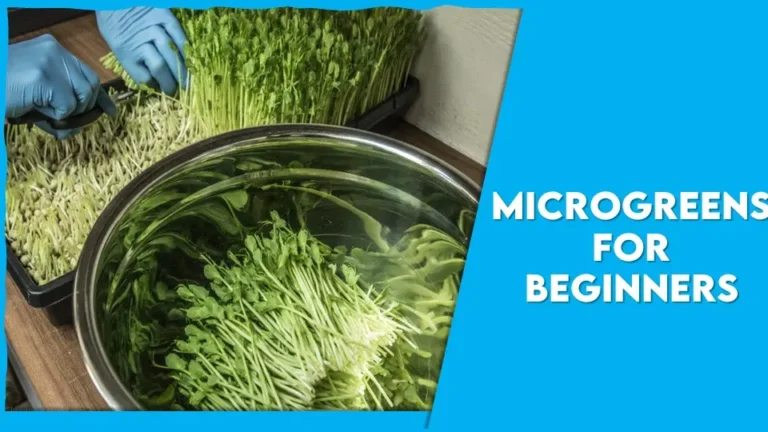
Harvesting:
The harvesting time for microgreens varies depending on the type of plant. Generally, microgreens are ready for harvest when they have developed their first set of true leaves, which is typically 7-21 days after sowing. Use clean scissors or shears to cut the microgreens just above the soil line. Harvesting at this stage ensures the best flavour and nutritional content .
Storage and Consumption:
For the fresh taste and maximum nutritional benefits, consume microgreens immediately after harvest. You can store the excess microgreens in the refrigerator for a few days. Remember that microgreens have a short shelf life, so it’s best to harvest them as needed for optimal freshness.
Post harvesting care for vibrant microgreen
This steps plays a vital role in process of “how to grow microgreens ?” that directly influences the freshness, quality, and shelf life of the harvested greens. Once you’ve successfully harvested your microgreens, follow these steps to ensure their optimal condition:
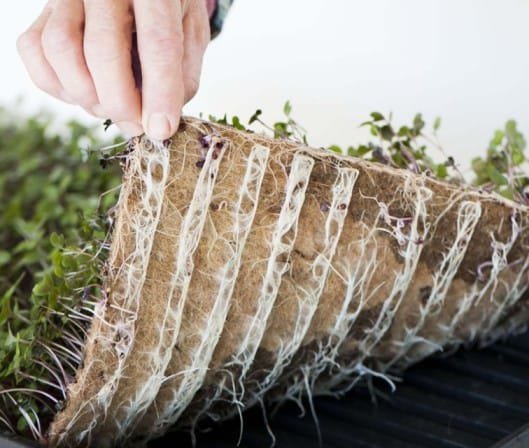
- Gentle Cleaning: Rinse the harvested microgreens under cool, running water to remove any residual soil or growing medium. Use a gentle flow of water to avoid damaging the delicate leaves.
- Pat Dry: After rinsing, carefully pat the microgreens dry with a clean kitchen towel or paper towels. Removal of excess moisture is very much important as it can lead to decay and spoilage.
- Sterilize Tools: Ensure that the scissors or cutting tools used for harvesting are clean and sterilized. It will helps in prevention of any sort of contaminants that could harm the quality of the microgreens
- Airtight Storage: Store the microgreens in airtight containers to maintain freshness. Refrigerate them to slow down the aging process. Avoid storing them in damp conditions, as moisture can lead to mould development.
- Storage Containers: Choose containers that are appropriately sized to avoid crushing the microgreens. Alternatively, use produce storage bags with tiny perforations to allow for proper air circulation.
- Temperature Control: Keep the refrigerator temperature between 32-40°F (0-4°C) to prolong the shelf life of microgreens. However, avoid freezing them, as this can affect their texture and flavour.
- Use within a Few Days: Microgreens are best consumed within a few days of harvest to enjoy maximum freshness and nutritional benefits. Plan your harvests to align with your consumption needs.
- Avoid Moisture Buildup: Check the storage container regularly for any signs of moisture buildup. If condensation occurs, wipe it away to prevent mould growth.
- Continuous Harvest: If you have an ongoing microgreen cultivation setup, consider staggered sowings to ensure a continuous supply of fresh greens. It will minimizes the need for long-term storage.
- Experiment with Packaging: Explore different packaging methods, such as breathable bags or eco-friendly wraps, to find the most effective way to keep your microgreens fresh while reducing environmental impact.
Following these post-harvest care guidelines will help you keep your microgreens longer and retain their flavour and nutritional content.
Conclusion:
In conclusion, the cultivation practices of the tiny vibrant nutrient-packed microgreens which is also known as “Vegetable confettie” , has lots of benefits. The procedures starts with selection of health seeds, followed by carefully placements of microgreens on nutrients rich growing medium in shallow container. As these miniature wonders start their journey from seed to shoot, providing them with adequate light, temperature, and moisture becomes a nurturing ritual.
The post-harvest procedures plays significant role in enhancing the durability and maintain freshness of the microgreens. The availability of the diverse varieties, bringing a symphony of colours, flavours, and nutritional benefits to the table.
Ultimately, the process of “how to grow microgreens ?” becomes a sustainable practice, which offers a continuous supply of fresh & homegrown produce while minimizing environmental impact. Through the exploration and availability of different varieties and the commitment to a thoughtful cultivation practices, raising microgreens becomes a holistic and fulfilling experience, connecting individuals with the essence of nature in its smallest, yet vibrant, form.