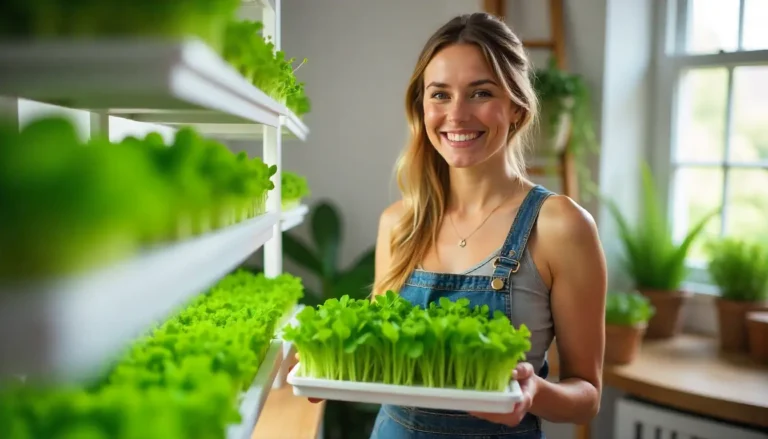
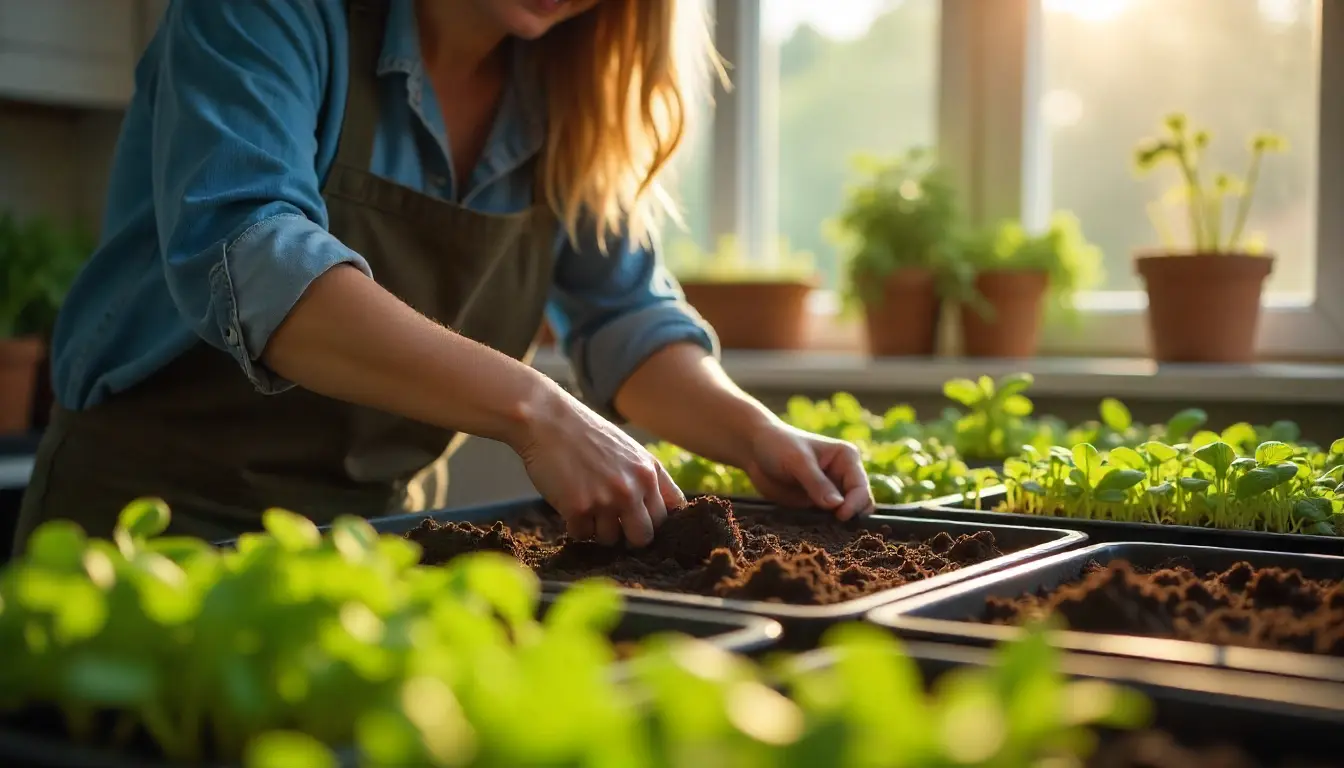
Microgreen is an important recipe now a days, you might have think to how to Fill Trays for Microgreens, so in this article we have covered topic Filling Trays and growing of Microgreens. The first step in the microgreens growing process is filling trays with a growing medium.
Sifting
Before filling the trays, the soil is sifted through quarter-inch hardware cloth. Sifting not only aerates the soil; it also helps remove large chunks and other unwanted materials that could potentially cause watering issues. It produces a more uniform soil mix and aids in germination.
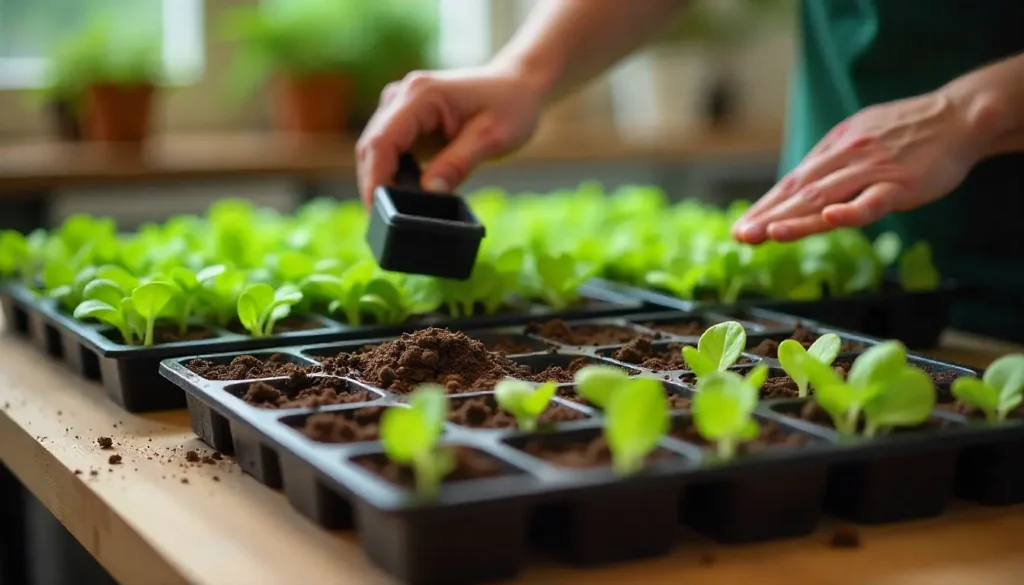
- Low Soil Level : To achieve a low soil depth, fill the paperpot tray just above the middle line. Pea shoots and sunflower shoots grow well in low soil heights because of their large seed sizes and because they do not require an additional medium like vermiculite or cocoa coir on top of the seeds. The tray above should press down on the soil below it to improve seed-to-soil contact and, consequently, germination. Having a low soil height for peas and sunflowers enables the tray above to lock into the tray below. Adding more soil does not improve productivity. Since they use less soil than other varieties, peas and sunflowers can be particularly profitable.
- Middle Soil Level: For a middle soil height, fill the paperpot trays until just below the lip of the tray. This soil height is suitable for smaller seeds such as arugula, radish, and amaranth.
- High Soil Level: To achieve the highest soil height, fill the tray all the way to the top. This soil height is ideal for crops that do not grow very tall, such as basil and purple shiso. These two crops grow low, which makes them difficult to harvest if started with a low level of soil.
Soak Seeds
Soaking certain varieties—especially larger seeds like sunflower, radish, peas, and nasturtium—enables better germination. Soaking may also help prevent mold issues. Seeds intended for planting the following day can be soaked overnight, although some growers soak sunflowers for only about eight hours. Soaked seeds are a little more challenging to seed, but hand-spreading them across the trays works effectively.
Sanitize Seeds
If mold issues persist even after soaking, or if the seeds are not as clean as desired, sanitizing can be performed. After soaking, rinse the seeds and allow them to sit in a 1:1 white vinegar–hydrogen peroxide solution for 10 minutes. After soaking in the solution, rinse the seeds, and they are ready for planting.
Mist the Soil
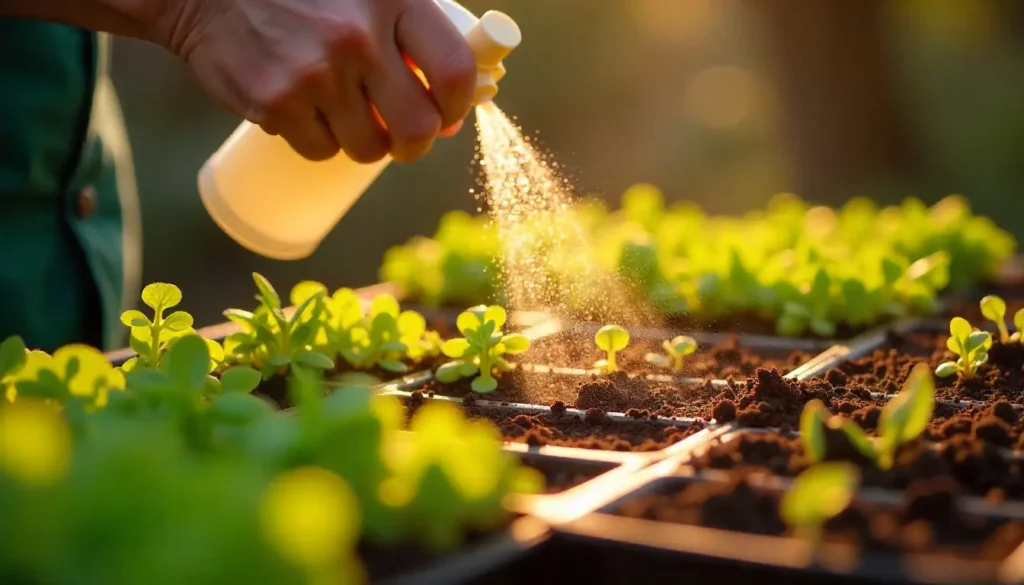
Always mist the tray before seeding any crop. Misting not only provides additional moisture to the soil but also helps flatten and compress it, making seed spreading easier and more uniform.
Mist the Seeds
After seeding, mist the seeds. Begin misting from a distance, especially when dealing with smaller seeds or using a high-pressure mister. Misting helps pack the seeds into the soil, ensuring better seed-to-soil contact.
Add Vermiculite
Some varieties grow best with a thin layer of vermiculite covering the seeds. This layer can help achieve uniform growth. Vermiculite can be applied using a simple plastic cup. Mist the tray once more afterward to help keep the vermiculite in place.
Weighted Germination Tray
This step in microgreens production may seem counterintuitive, but for certain types of microgreens, covering trays with a weighted germination tray blocks light, which aids germination. It also compacts the soil, providing good seed-to-soil contact. Having a weight to push against encourages seeds to grow straight and develop sturdy roots. Sturdy roots produce strong microgreens that grow tall.
A weighted germination tray is placed on top of each individual seeded tray. It is simply a tray with bricks on it, rather than soil, that distributes weight evenly across the tray.
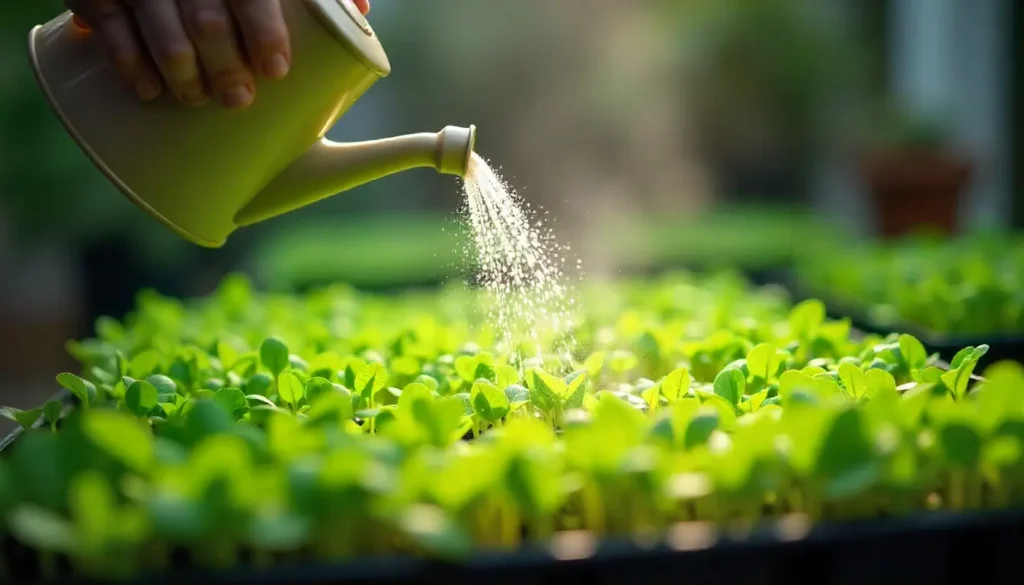
Watering Microgreens
During germination, mist the tray daily. When roots begin to appear at the bottom of the tray, switch to bottom watering twice a day.
Space Box for Microgreens
Some varieties require a space box that remains on for four to six days to help the microgreens grow taller. For sunflower shoots in particular, the space box can be left on longer; this prevents true leaves from forming, producing a higher yield and reducing bitterness. A space box can be made from aluminum guttering, sheet metal, and aluminum tape cut to fit the size of the trays.
Unstacking
Once smaller crops such as basil or cilantro begin growing through the holes in the bottom of the weighted germination tray, or once larger crops such as pea shoots and sunflower shoots begin pushing off the weighted trays, the seeded trays can be unstacked. Some seeds grow faster than others, so waiting an additional day or two allows the remaining seeds to germinate and emerge. To ensure that seedlings sticking to the bottom of the tray are not damaged when the germination tray is lifted, lightly tap the germination tray to release them back into the tray below.
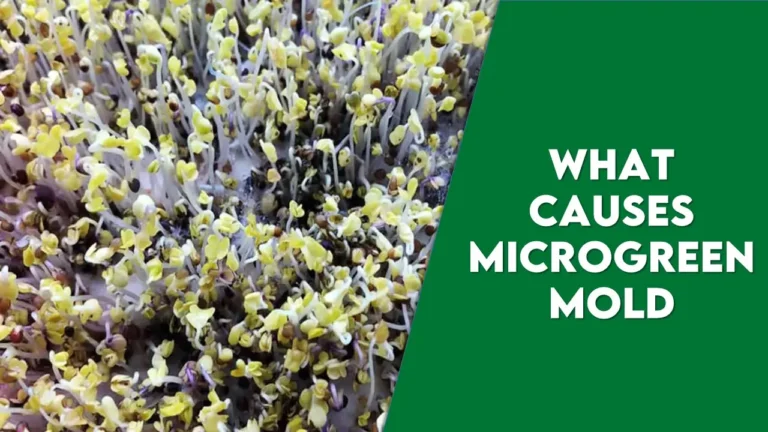
Mold Issues in Microgreens
Spraying crops with an 8-mL hydrogen peroxide solution helps control mold problems. The solution is safe and food-grade. This treatment preserves the microgreens and ensures a better yield.
Article Credit- SPROUTS and MICROGREENS Growing Guide by W H Perron.
Latest Post
- Most Popular Microgreens to Grow

- Filling Trays and growing of Microgreens

- Different Ways to Grow Microgreens at Home

- Different Types of Microgreens and Their Benefits

- Sprouts vs Microgreens

- What Causes Microgreen Mold?

- Disadvantages Of Microgreens ? 3 things you must know

- Get The Ideas On Where To Sell Microgreens: The 6 Best Ways

- How to grow Microgreens without Soil: Easy tips for Gardener

- top 10 Most Profitable Microgreens In The Us
- Do Microgreens Regrow? – Best Ways To Regrow Them

- Who Invented Microgreens ?- Revealing All The Hidden Truths