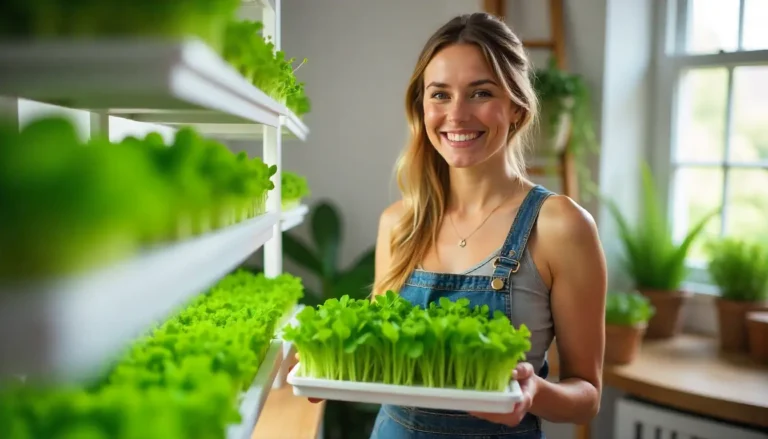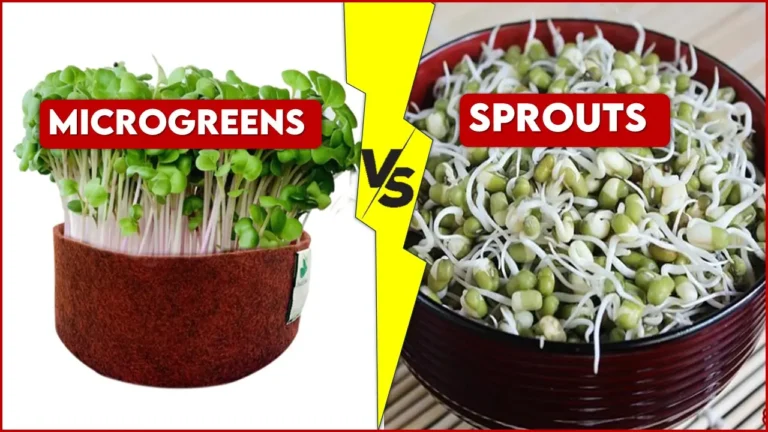
You might have thing that growing microgreen is simple process but its not that easy there is various ways to germinate microgreens. Each method have own advantage or disadvantage. In this article I have covered Different ways to grow microgreens
Different ways to grow microgreens
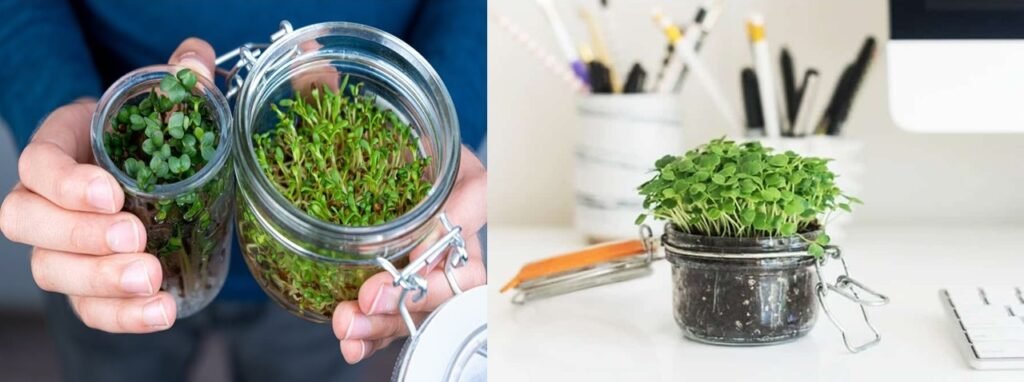
1-Glass Container
Microgreen grow in Glass Container require few things such as : Microgreen seeds, large wide mouth jar, mesh/net or muslin cloth, warm water.
How to grow microgreen in glass container
- Select your microgreen seeds based on your choice
- Sort out and remove any damaged microgreen seeds.
- Cover bottom of the jar with 2 or 3 layers of seeds.
- Secure the mesh/net at the mouth of the jar with an elastic.
- Thoroughly wash in lukewarm water and strain.
- Let soak in three times the volume of lukewarm water, for an entire night.
- Remove the soaking water and rinse well with lukewarm water, rinse again and let completely rinse out.
- Place your jar at a 45o angle to help drain.
- Cover the jar with a cloth keeping the top open to provide for air exchange.
- Rinse twice daily (morning and evening).
- As soon as the 2 little leaves appear, remove the cloth, and place the container in indirect lighting to allow
- for the development of chlorophyll.
- During rinsing, carefully remove floating barks or those set in the bottom to better clean your alfalfa that will become
- crisp and will keep better.
- Sprouts are ready between 3 to 6 days after.
2- Germination Microgreens in seed sprouter
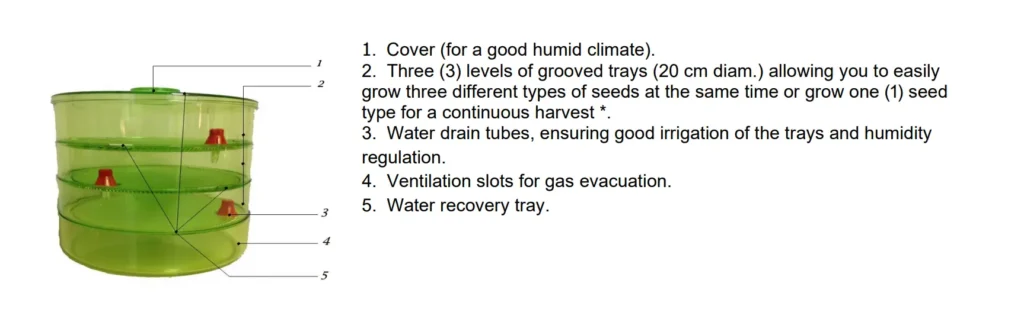
Biosta is a germination system that allows you to easily grow various sprout varieties at home. It is designed for small seeds such as radish, alfalfa, wheat, and clover.
How to grow Microgreens in seed sprouter
- Ensure that the sprouter is on a flat surface.
- Make sure that the siphons are in place on the water drain tubes (do not press or sink too much).
- Carefully rinse the germination trays under cold water. Do not wipe dry.
- Our seeds are untreated products. You must rinse them under tap water in a strainer before soaking.
- As recommended, evenly distribute the soaked seeds with a teaspoon in the germinating trays (3 tbsp. of small
- seeds).
- Make sure the siphons are staggered when superimposing the trays.
- To obtain the required pressure for your apparel to correctly function, make sure to fill the top tray with water
- until the siphon is completely covered (at least 1/2 l).
- The sprouter will automatically and successively irrigate the other germinating trays. The excess water will
- channel through the water recovery tray.
- Empty the water recovery tray as soon as the water went through. ** Use this water to water your indoor plants.
- Place the closed sprouter in a bright area. Do not place directly in front of a window nor under sun rays and not near a heating source during winter.
Also make sure few things before using sporter such as: The sprouter is made of a resistant plastic with 3 levels of germination trays. Weight: 900 gr (2 lb). Diameter: 20 cm (8 in). Height: 16.25 cm (6.5 in).
All parts in contact with the seeds (container, strainer, spoon, trays, siphon, etc.) must be carefully cleaned, using white vinegar with a soft brush then rinse out under clear water.
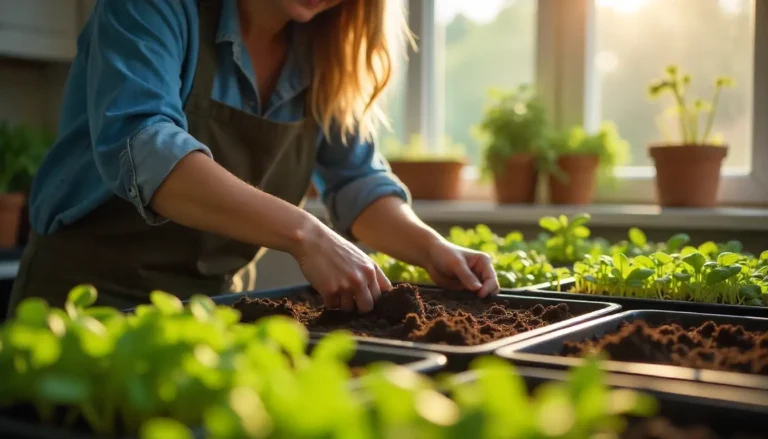
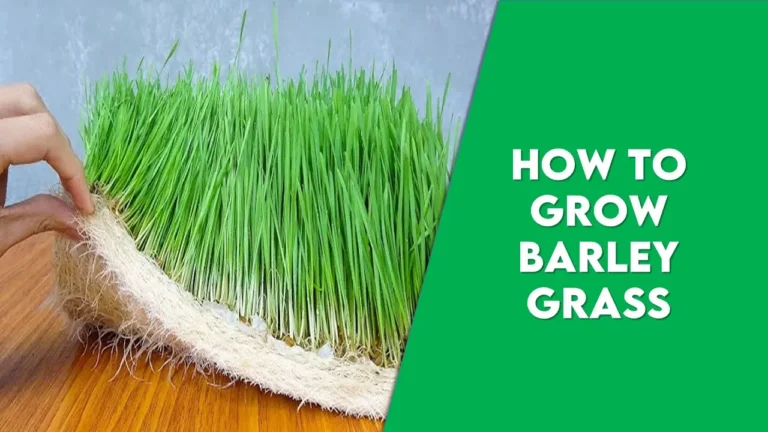
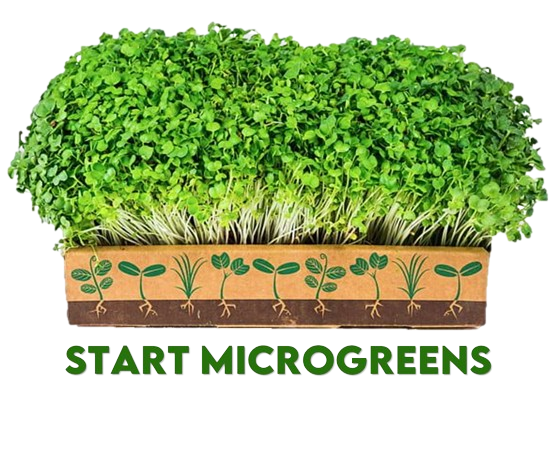
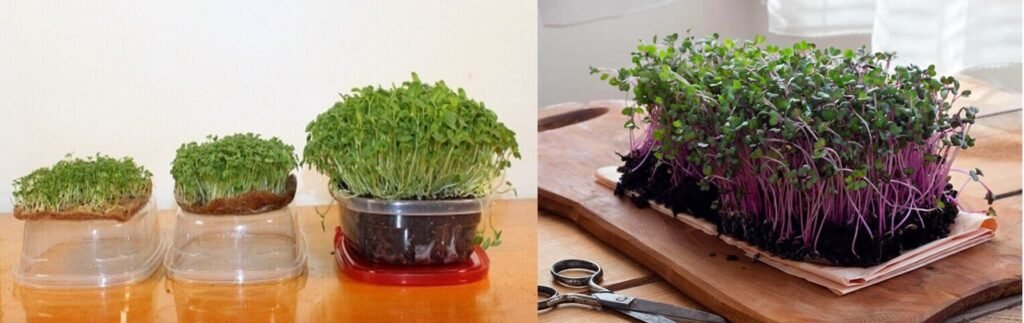
4-Breeding Ground – Soil
- Select unpeeled sunflower seeds (black), whole-grain buckwheat with black bark or any other seed recommended for microgreen culture.
- Soak the desired quantity of seeds during an entire night in a glass container.
- Drain and let the seeds germinate, in the dark, for 12 hours or until the small germ appears.
- Use a propagating tray or any type of tray or seedling containers.
- Spread about 1 inch of ground and saturate with water.
- Sow seeds tightly and without overlapping.
- Cover with another tray to maintain moisture. After 2 or 3 days, when shoots have reached 3 cm to 5 cm
- (1” to 2 ”) in height, they can continue to grow in the light.
- Uncover the young shoots and place them in indirect light. Water as needed only if the soil seems very dry.
- The sunflower is ready when the black bark has mostly fallen off and the first two leaves are very green (8 to 12 days). Very easy, isn’t it?
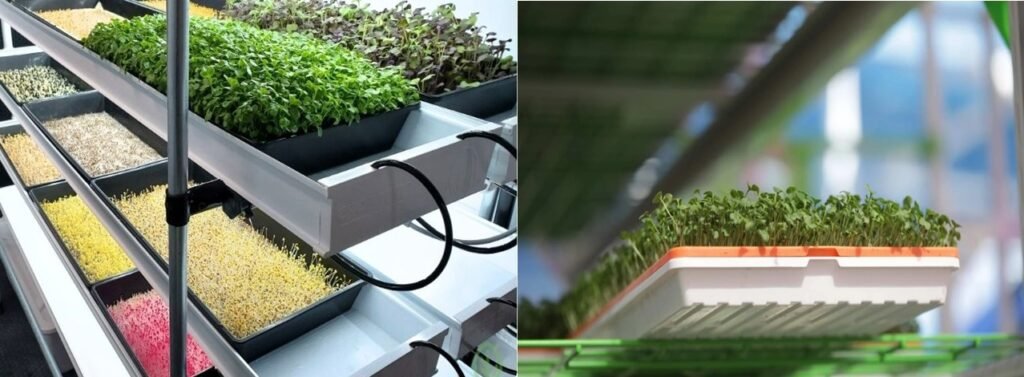
5-Grow microgreen Hydroponically
In hydroponics system no need for soil, the shoots only need moisture because, at this stage, the shoot develops entirely from its seed. Put a germination mat, absorbent cotton or felt in the bottom of a container, plate or seedling tray and place the seeds on top.
How to Grow microgreen Hydroponically
- Place rinsed seeds tightly and without overlap in a large container such as a seedling container. Use any
- perforated container that can be placed in another non-perforated container capable of holding water.
- Cover the seeds with warm water overnight.
- In the morning, drain the water, rinse, and replace the perforated container in the other one.
- Repeat twice a day, morning, and evening.
- The sprout will come up quickly. Once the roots have grown through the perforations in your container, add water
- to the container below and watch your sprouts grow before your eyes.
- Add water to the bottom container as needed.
Hope in this article you get idea of Different ways to grow microgreens at your home.
Article Credit- SPROUTS and MICROGREENS Growing Guide by W H Perron.
Latest Post